This is a great everyday sandwich bread, or toasted with butter and jam, or actually I've even used it as a base for bruschetta! So basically, it's a great overall bread and really easy to prepare and have ready for the next morning. Just allow enough time for the risings.
AWESOME EVERYDAY BREAD
INGREDIENTS:

3.5 cups of bread flour + 1/4 cup for bench flour and in case too sticky
*(can also make it wheat bread by substituting 1 cup of the regular bread flour for wheat flour)
1 pkg of Rapid Rise yeast
2 tsp salt
1 cup milk
4 Tbs melted butter + 1 additional Tbs melted butter
3 Tbs honey
1/3 cup water
DIRECTIONS:
1. Measure out dry ingredients in the bowl of a stand mixer and set aside.

2. In a microwave-safe bowl, melt the butter and set aside. In another microwave-safe bowl (I like to use a large glass Pyrex measuring cup) measure the milk and water and heat for about 1 minute until it registers at 110 degrees. If you do not have a food thermometer, then it should be much warmer than luke warm but not burning hot either. I would really recommend getting a food thermometer because you can use it for a variety of things and it's not expensive at all! After the milk and water reaches 110 degrees, add in ONLY 4 Tbs of the melted butter (you'll need the rest for brushing on top of the loaf when ready to bake) and the 3 Tbs of honey and whisk until completely dissolved.

3. Using the dough hook attachment on your mixer, slowly add the milk mixture to the flour mixture while the mixer is on low. When all the dough seems to have been mixed (about a minute or so) then turn the mixer to medium speed and mix for 10 minutes or until the dough pulls away from the sides and is glossy. If after 5 minutes of mixing the dough still seems extremely sticky, then add more flour a Tbs at a time until it comes together. Don't add too much flour because it will become super dense. After 10 minutes, your dough should look like this:


See how it's not sticking that much to the sides? That's what you want.
4. Use a little of the remaining flour to dust a clean surface (I use my granite counter tops) to knead the dough. Pull the dough out on to the floured surface and knead the dough for about 3 minutes. You want to knead it at least 10 times to develop the gluten for a good interior. After kneading, turn the dough into a tight ball making sure to pinch the sides under the dough. The reason you want a tight dough ball is to create some tension on the surface and to ensure it's really smooth. After you have a smooth ball of dough, place it into a lightly oiled bowl, cover with plastic wrap and then a cloth and let rise in a warm place for 1.5 hours.


5. After the first rising, take the dough out, punch it down like it stole your parking spot on a rainy day, and knead again. This time you want to knead it less than the first time and at this point you can either place it into a lightly oiled bread loaf pan or you can free form for a more rustic look. I like to free form because it just looks pretty. =) If doing a free form, then use a piece of parchment paper under it as well as something like a rimless baking sheet for easy transportation to and from the oven.
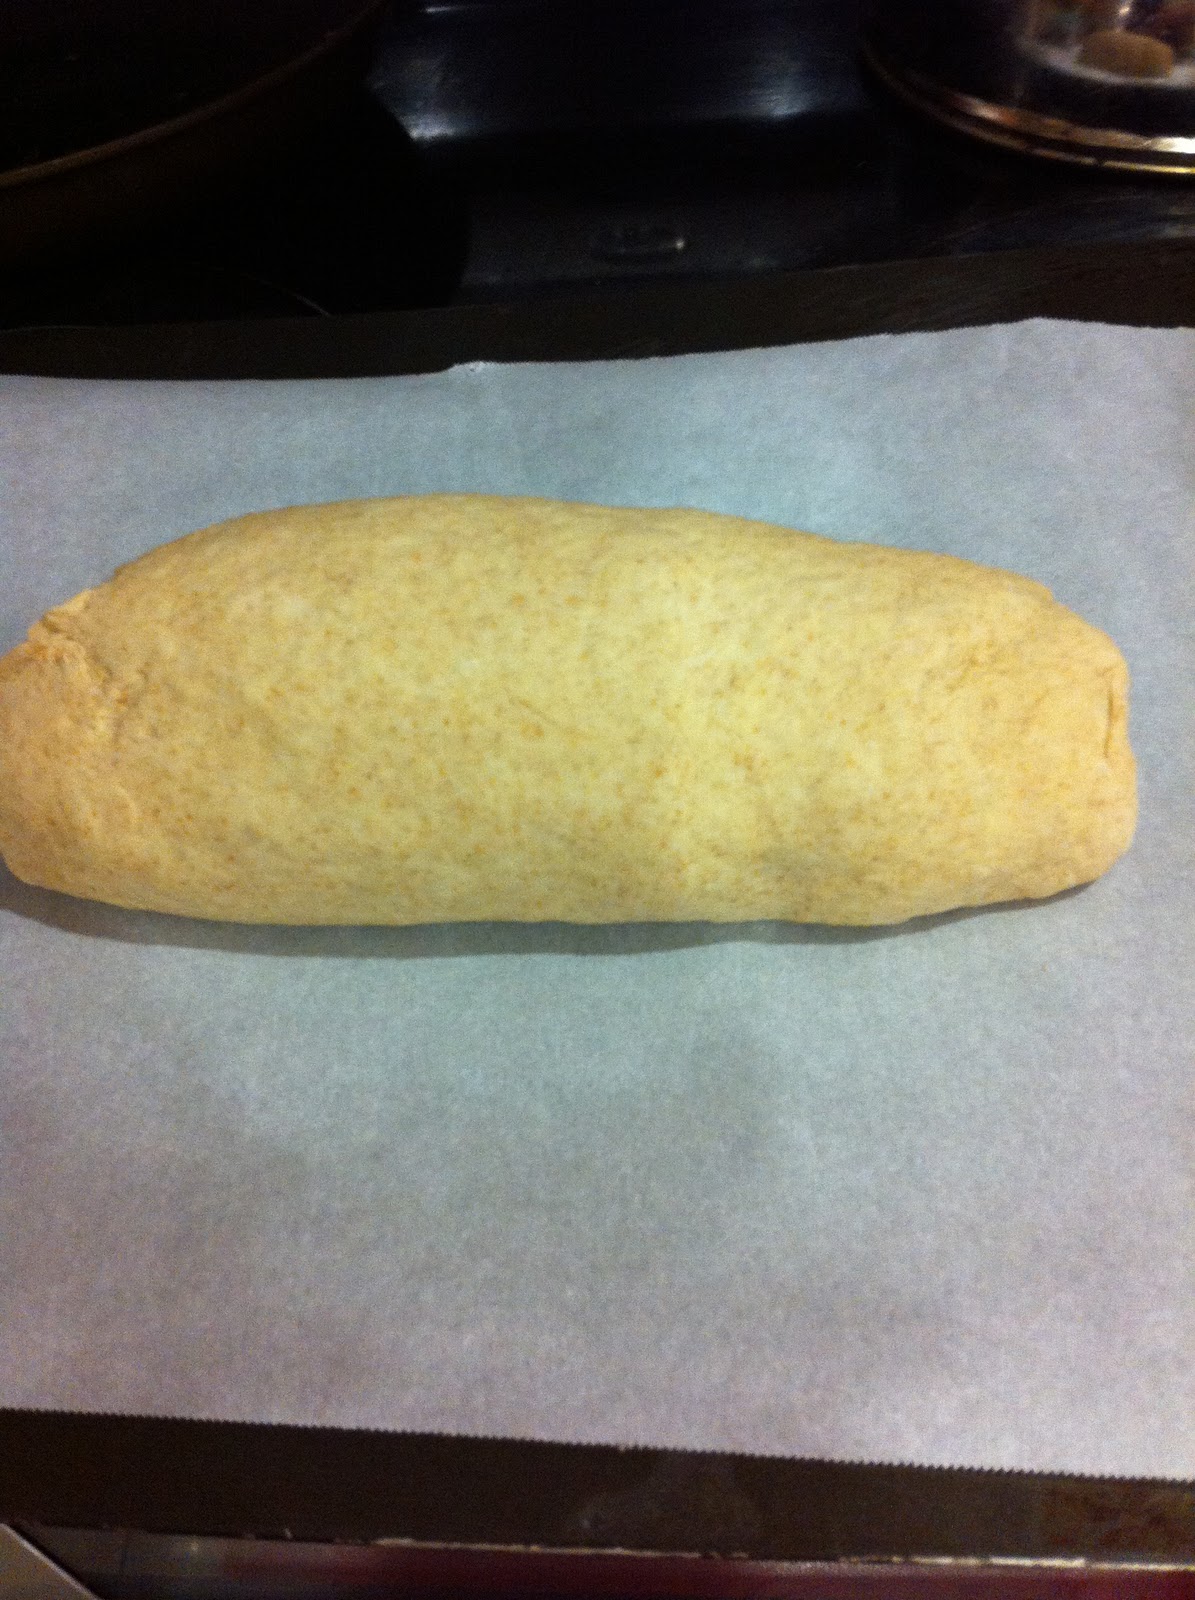
6. Cover the loaf with the same plastic wrap and cloth again and let rise again for 1.5 hours.

7. About 15 minutes before the second and final rising is done, get your oven ready to bake some bread! Preheat oven to 350 degrees and boil some water. If doing a free form bread, then place a pizza stone into the oven to allow it to get hot during the preheating stage. If you don't have a pizza stone, you could use a baking sheet however, the results may not be as good. =(
8. At the same time you are heating the pizza stone, put in an empty oven proof baking pan in the oven too. I use an old rusted bread loaf pan not suitable for baking anymore. We are simply using this additional baking pan as a way to steam the bread because we will be adding the boiling water to that pan. After the oven is ready, use the remaining melted butter to brush over the top off the loaf, place your free form bread including the parchment paper but not the baking sheet, on to the pizza stone and pour boiling water into empty baking pan and shut the oven door and allow to bake for 40 minutes. If using a bread pan, then just place it into the oven.

9. After 40 minutes, you should have an incredible loaf of bread! Take the bread out and let it rest for at least 30 minutes to an hour before cutting into it. Or, you could break the rules and just cut yourself a slice to see how awesome it is with butter melting on it while you inhale that first slice!


No comments:
Post a Comment